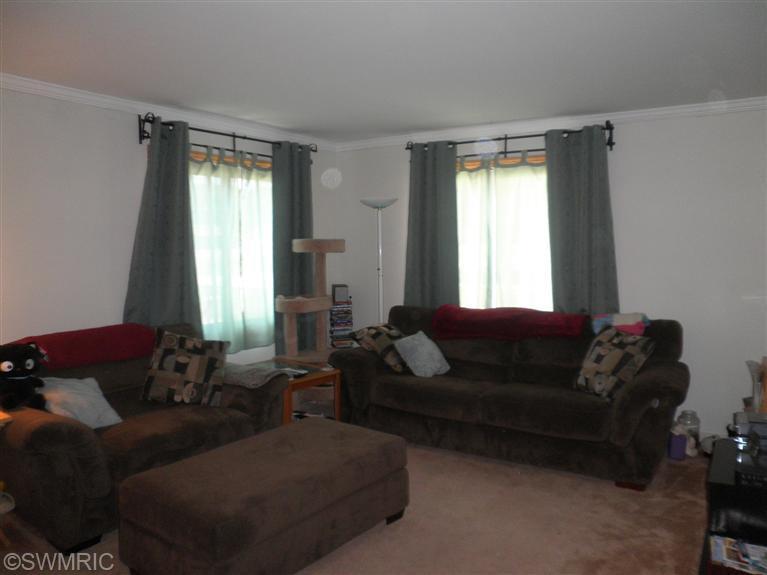
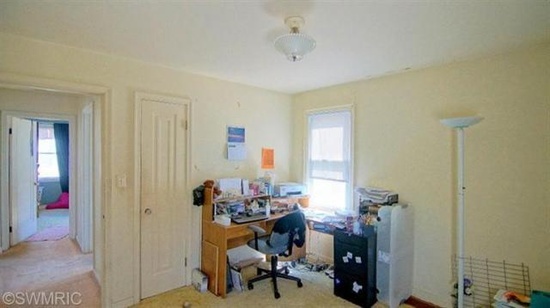
Well, we did it! And I’m so glad we did. Hard work can pay off in a big way! Here are some photos of the living room, a bedroom, and the main hall way of our house as it looked when we did our walkthrough with the realtor. Note nasty, ugly, cat hairy carpets. (In the living room, they have a rug over the carpet. I guess it was too nasty even for them!)
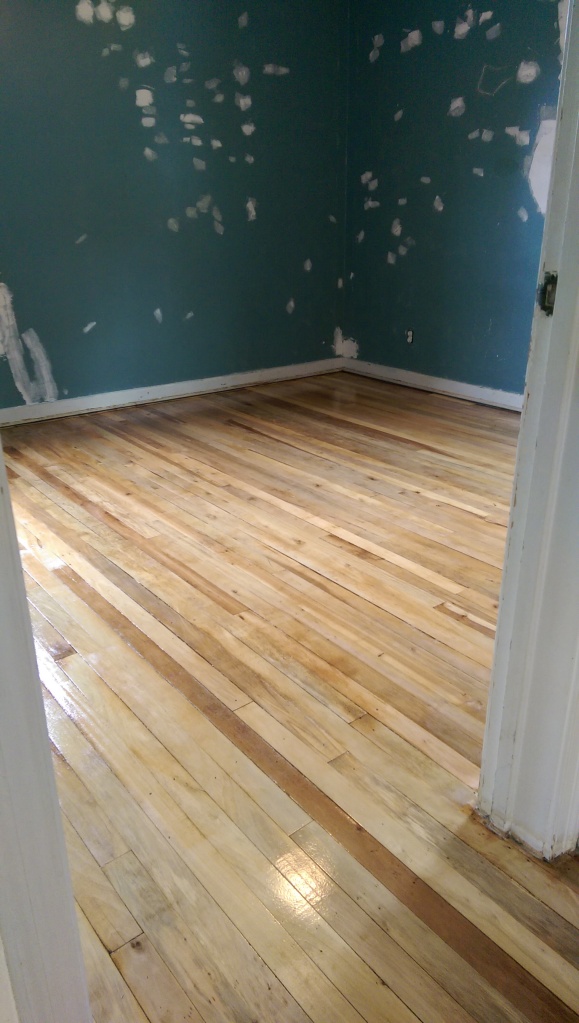
We rented a drum sander and an edge sander from a nearby company and borrowed a shop vacuum and a hand sander from friends. Each room took six passes with a sander – edge sander with 20 grit paper, drum sander with 20 grit paper, then both with 80 grit paper, then both with 120 grit paper – and we vacuumed everything after teach pass. This was a long two-day process with a definite learning curve. Once we got the hang of it, it was super fun to see the quality of the floor improve before our eyes with each pass. Word to the wise, though – do not attempt to use an edge sander if you have a history of back problems. When all this sanding was finished, we vacuumed twice more and used a damp rag to wipe the floors down. (The vacuum misses so much!)
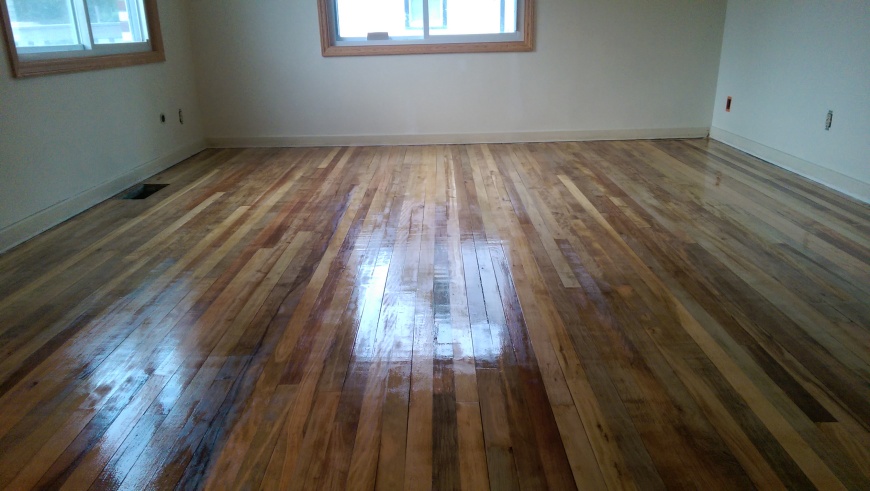
Minwax has a floor product called a sanding sealer which dies in two hours and takes the place of the first coat of polyurethane, so we opted for that as out first coat. This was followed by using a pole sander with 320 grit paper on all the floors (yes, sanding again) and vacuuming (again). Finally, we put down two coats (8 hours apart) of Minwax “super fast drying” polyurethane. The can says it “provides a traditional amber glow.” We used a roller to apply it all.
Finally, we are still waiting for these floor to be ready for everyday foot traffic, but they are super duper beautiful and totally worth all the hard work. I can’t wait to live in this house!


